Car Lights in Sweden – Headlights, Fog Lamps, Hazard Lights & Dashboard Indicators Explained
Using the right lights at the right time is a major part of safe driving in Sweden — and a frequent topic on the theory test. This guide explains each light on a modern car in plain English, when to switch them on, which combinations are not allowed, and how to recognise the dashboard symbols and switch icons you'll see in the car.
1) Daytime Running Lights (DRL)
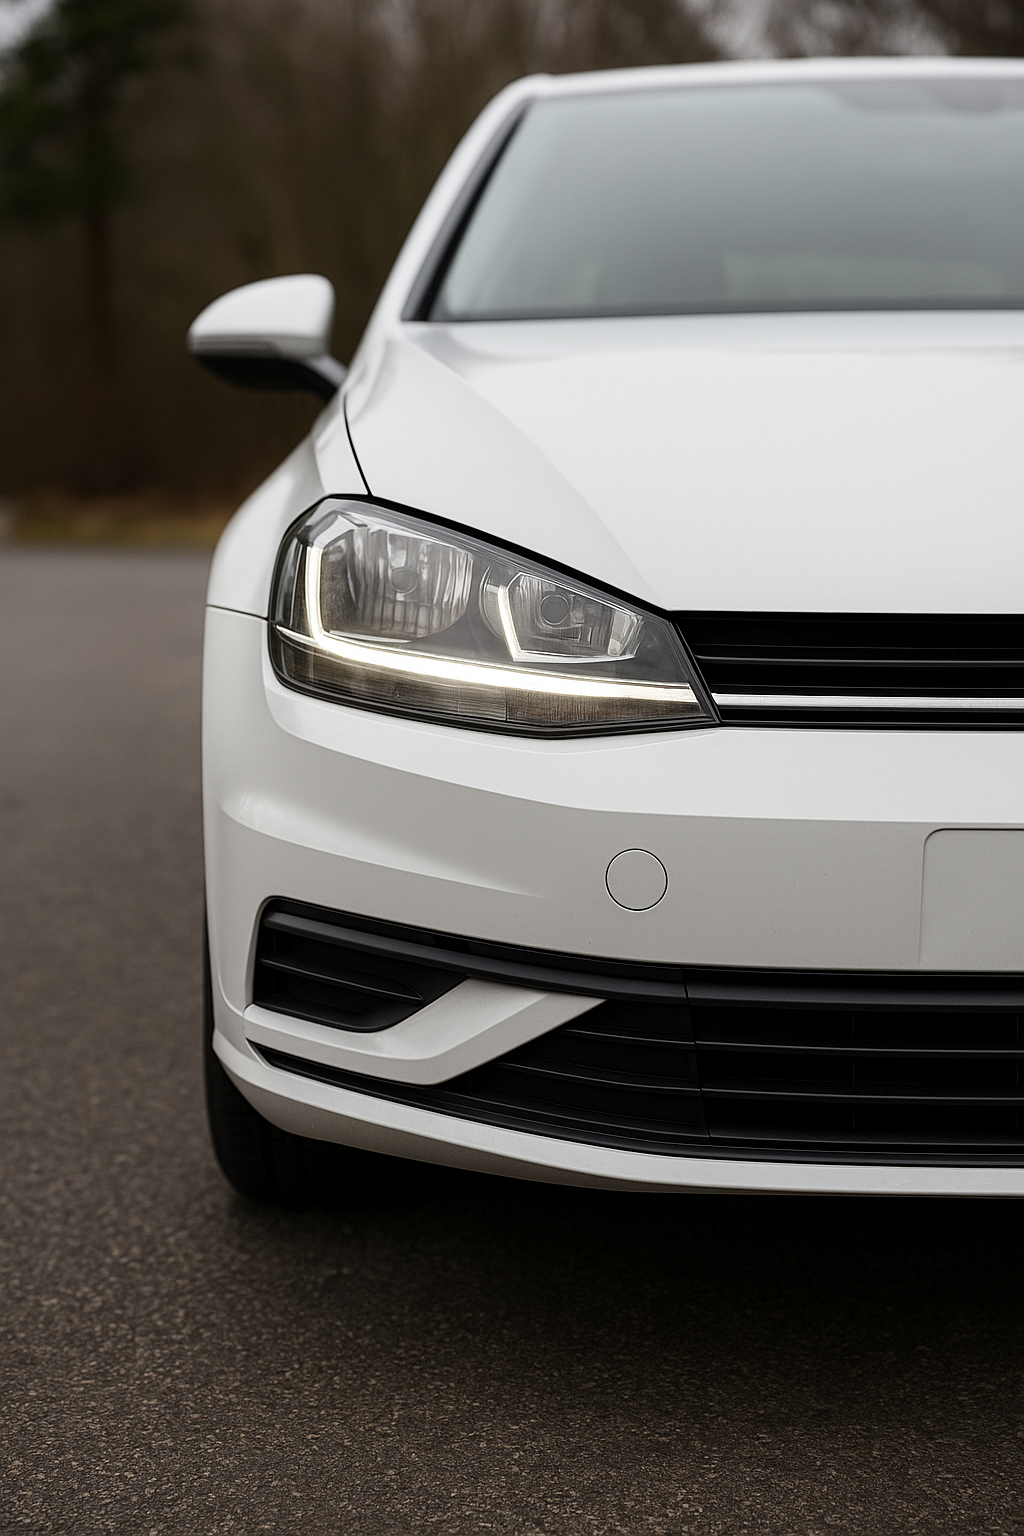
Most newer cars switch on daytime running lights automatically when you start driving in daylight. DRL makes you visible — it does not light up the road. In clear daytime conditions you can drive with DRL alone. When the light fades or visibility drops (rain, dusk, tunnels), swap to dipped beam.
- Daylight, good visibility → DRL is fine on its own.
- Do not combine DRL with fog lamps or dipped beam.
- If conditions worsen → turn the switch to dipped beam.
2) Dipped Beam (Low Beam / Halvljus)
Dipped beam is the standard night-time light and your go-to choice whenever visibility is reduced. Use it at dusk and dawn, during rain or snow, and always in tunnels — even in daytime.
- Dipped beam may be used with parking lights (they usually come on together).
- Don't pair dipped beam with DRL or front fog lamps.
- If the road is well lit by streetlights, full beam should be off, but dipped remains on.
3) Parking Lights (Positionsljus / Sidelights)

Parking lights are small front/rear position lamps that help others see your vehicle when it's stationary. They are not a driving light — they don't illuminate the road.
- Use when you're stopped or parked in darkness or poor visibility so the car can be seen.
- They will usually be on together with dipped or high beam (that's normal).
- Never drive using only parking lights — too dim and unsafe.
4) Front Fog Lamps (Dimljus fram)
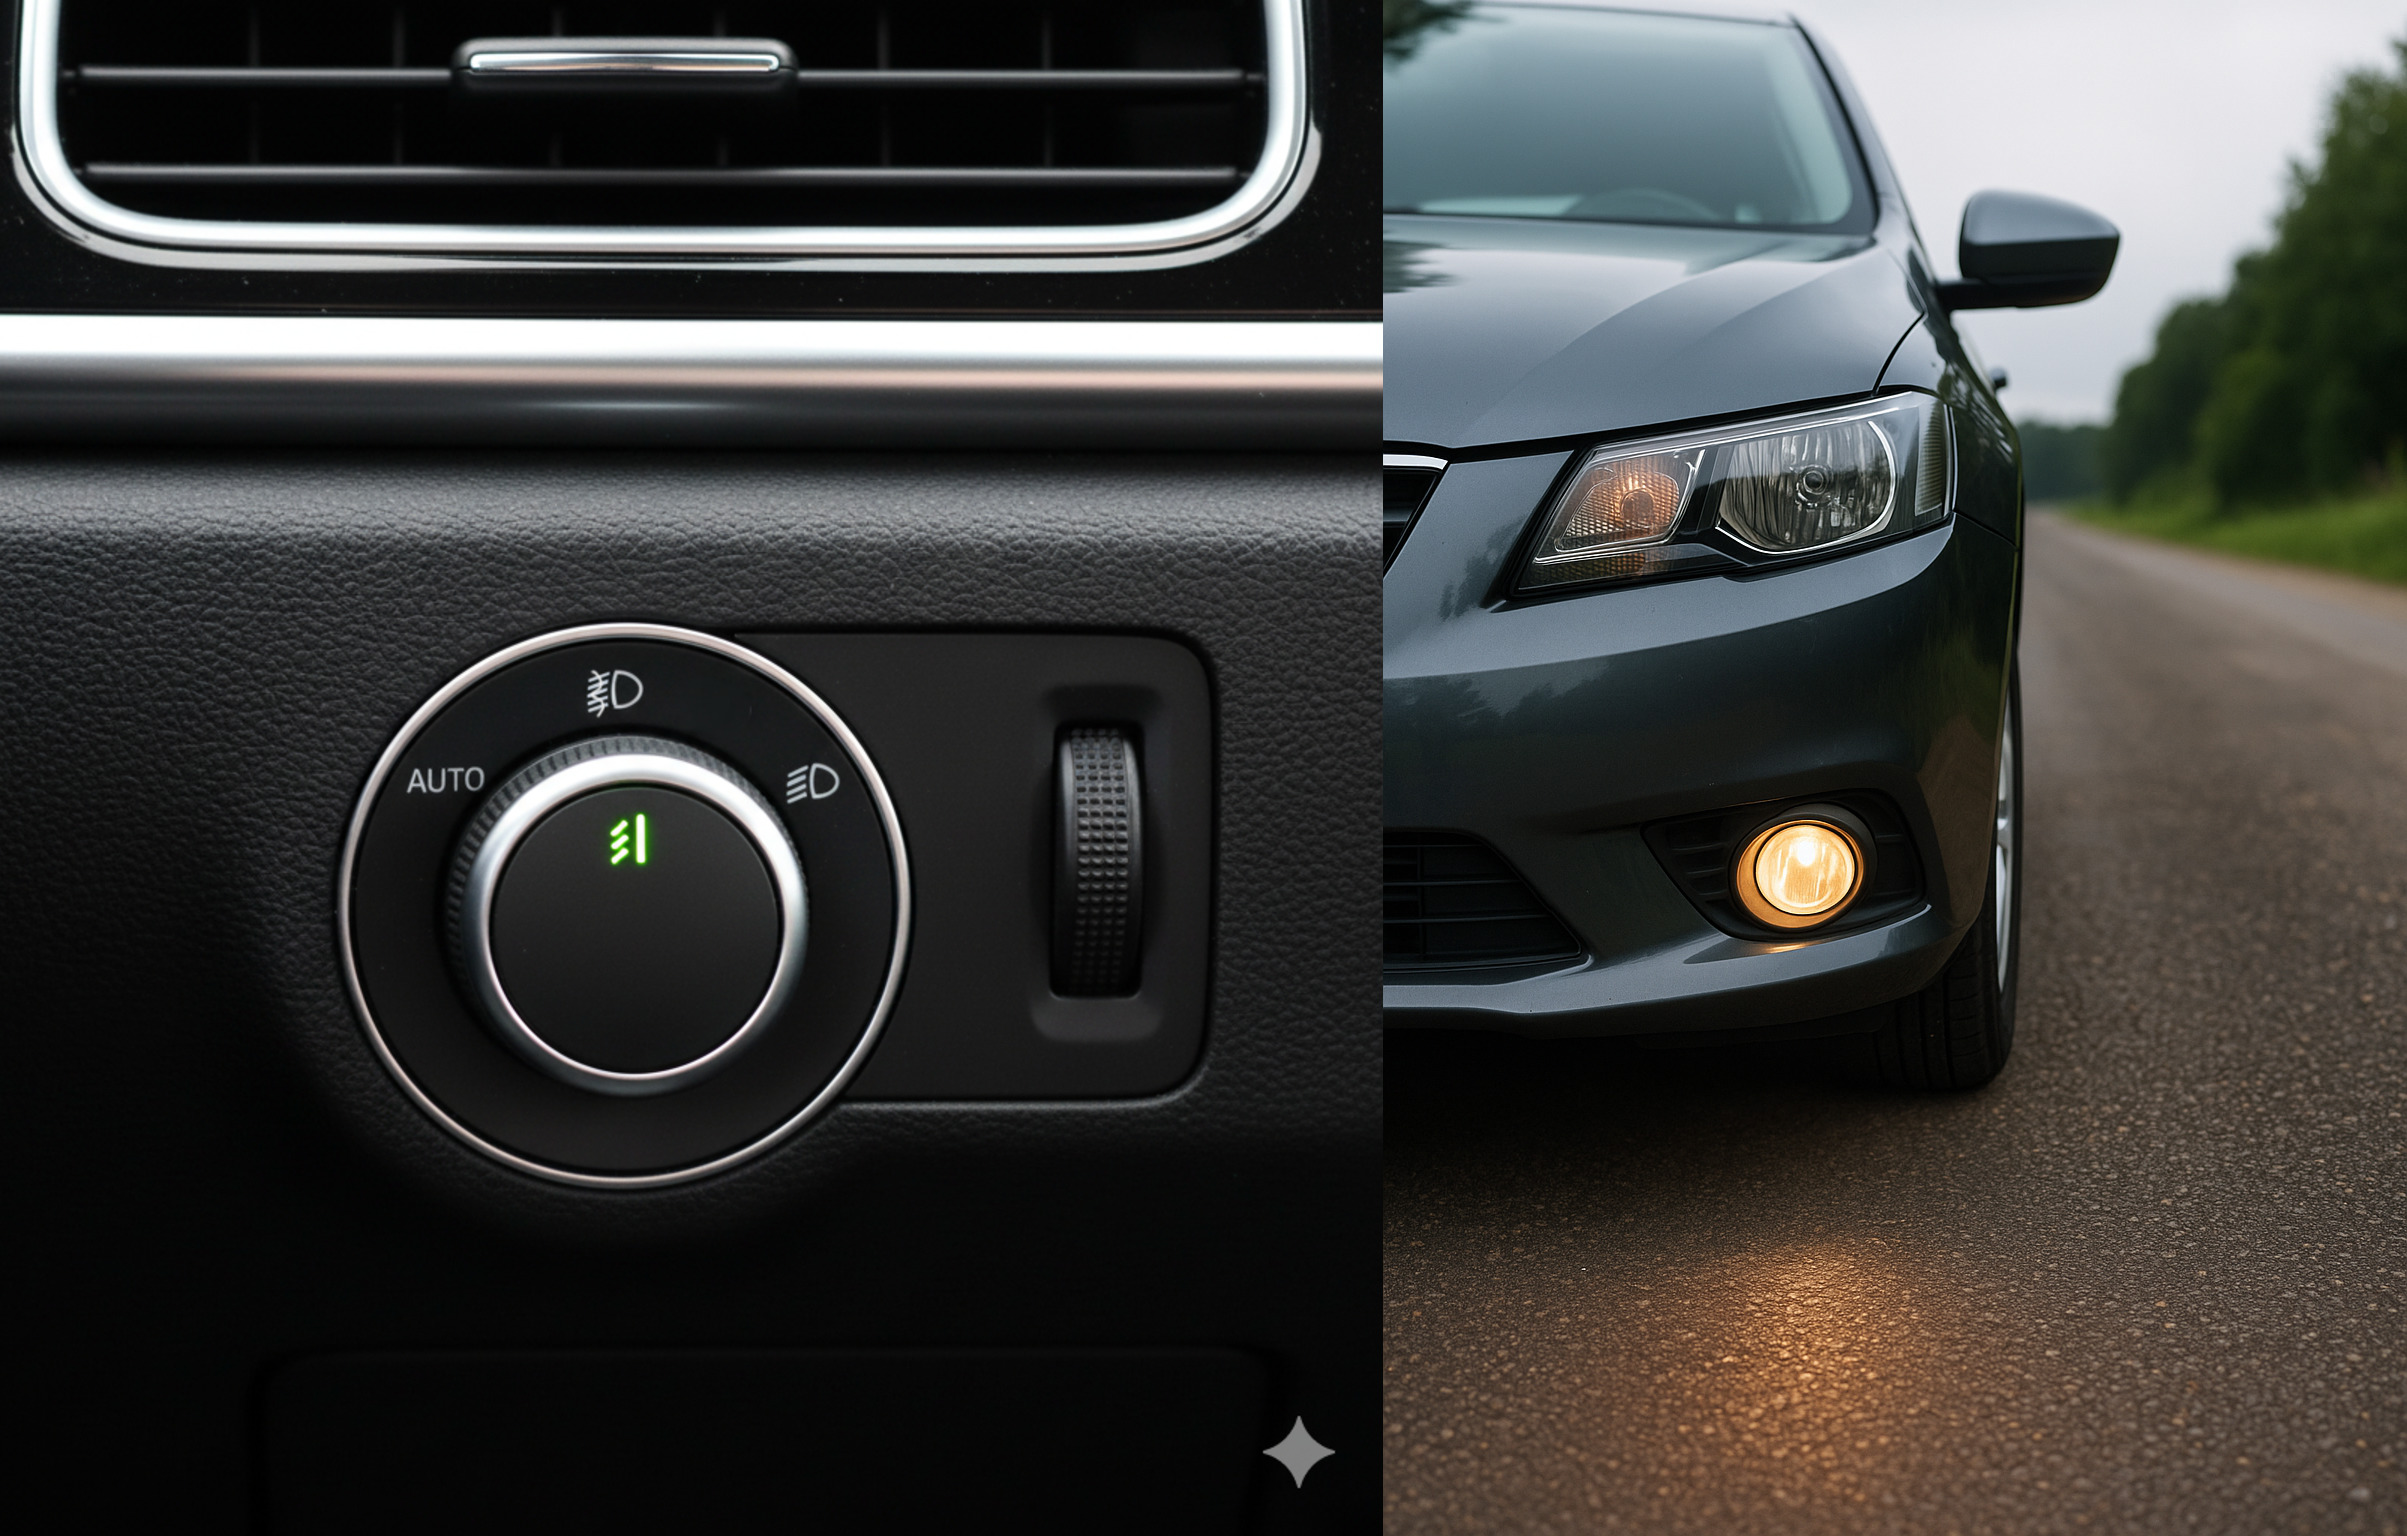
Front fog lamps produce a wide, low beam that sits under the fog and reduces glare. Use them when visibility is significantly reduced by fog or heavy rain/snow. In daytime poor-weather conditions, you may use front fogs instead of dipped beam. Don't stack them with other forward lights.
- Daytime heavy rain/fog → front fog lamps can replace dipped beam.
- Night-time in fog/heavy rain → front fog lamps may be used, but not together with dipped.
- Never combine front fog lamps with DRL or dipped beam.
- Turn them off as soon as visibility improves.
5) Rear Fog Lamp (Bakre dimljus)
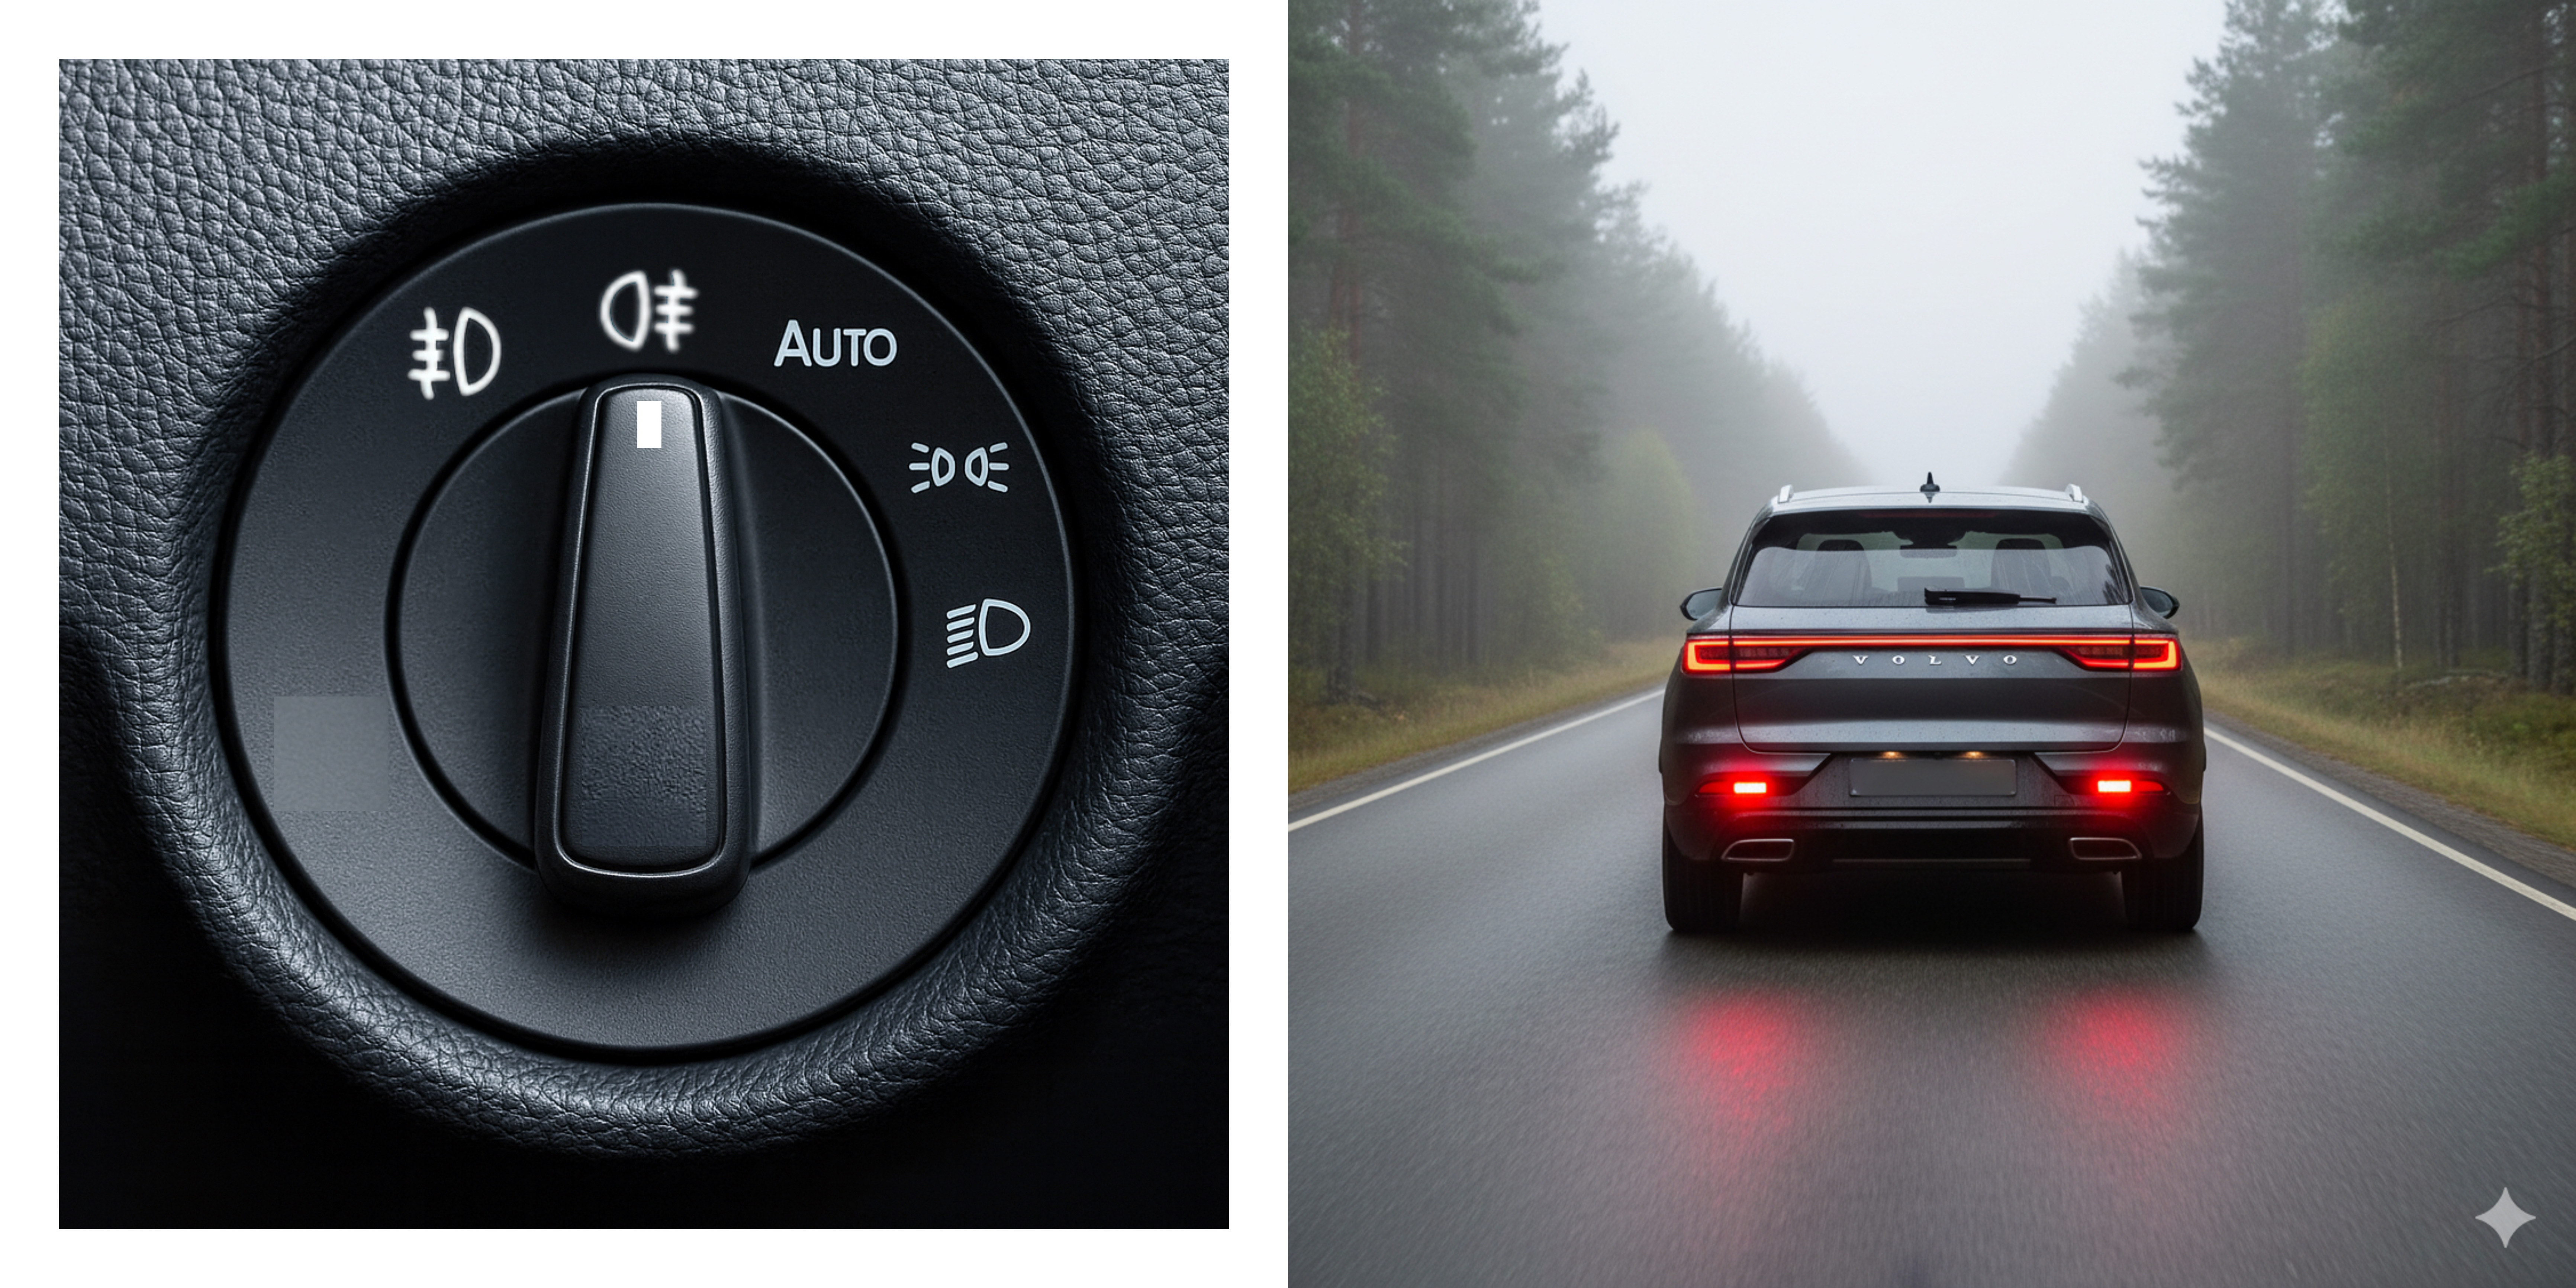
The rear fog lamp is a very bright red light that helps drivers behind you see your car in extremely poor visibility (thick fog or spray). Because it's powerful, switch it off as soon as conditions improve — otherwise you'll dazzle traffic behind.
- Use when visibility is drastically reduced.
- Turn off immediately when the view behind is clear again.
6) Full Beam (High Beam / Helljus)
Full beam is for dark, unlit roads when you need maximum range. Dip your lights for oncoming vehicles, when following another vehicle closely, or when street-lighting is sufficient. If in doubt, flick back to dipped and re-assess.
- Use on rural/unlit roads to see far ahead.
- Switch off when you'll dazzle someone ahead (oncoming or being followed).
- Don't use full beam on well-lit streets.
7) Hazard Warning Lights (Varningsblinkers)
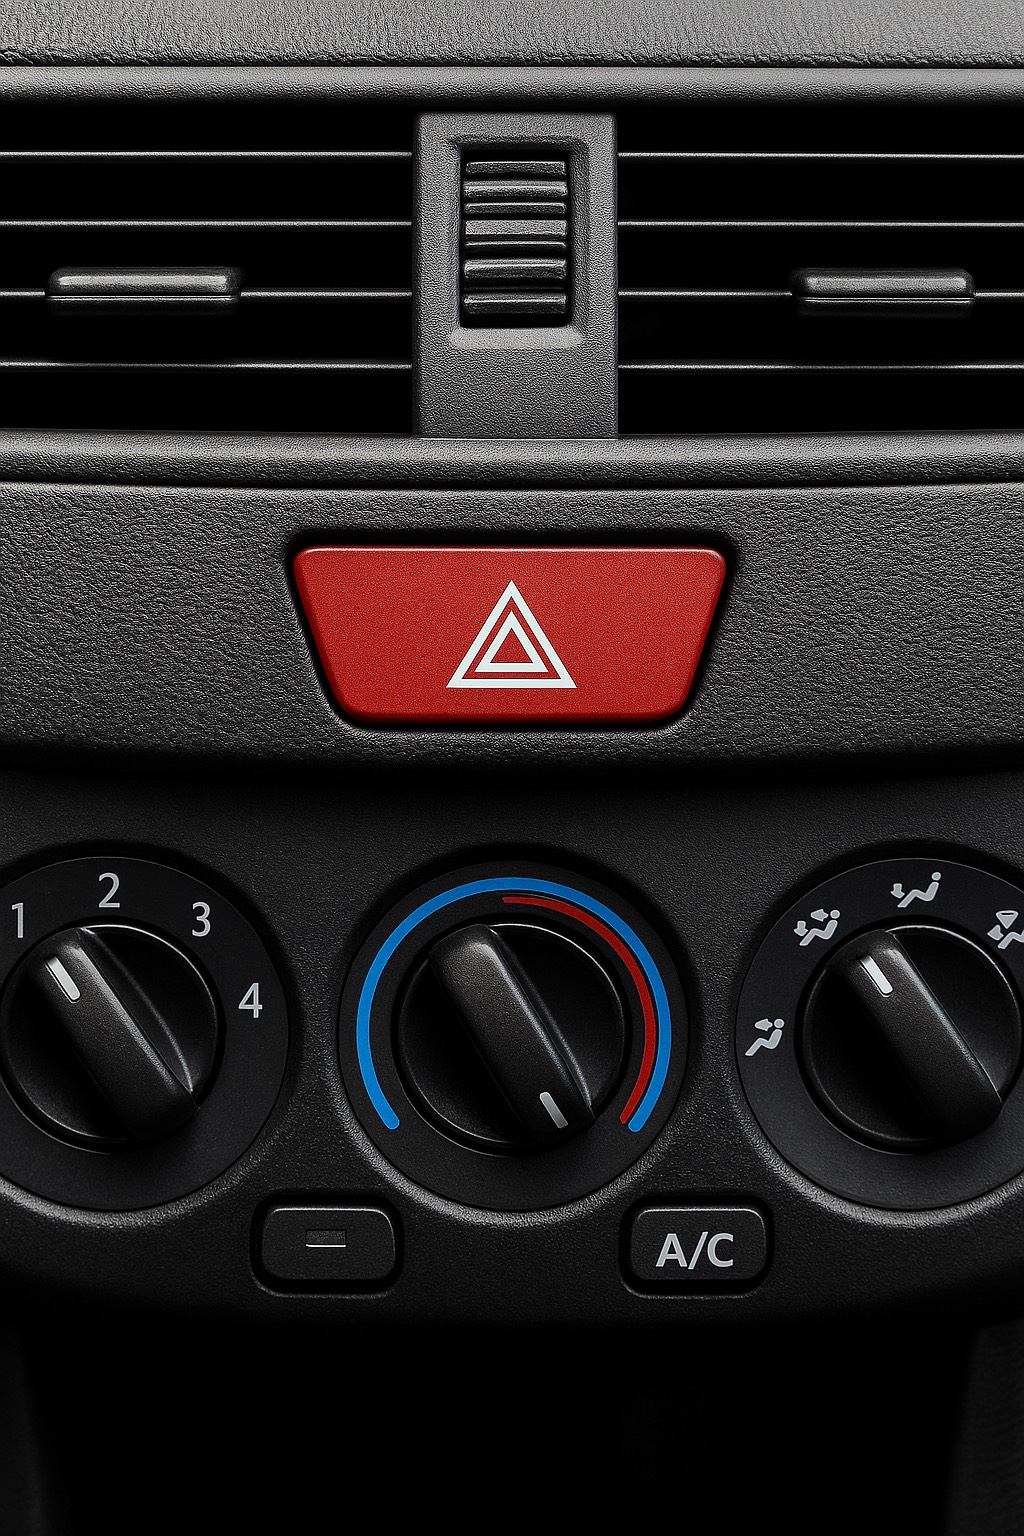
Hazard lights flash all indicators at once. They're a warning signal — not a courtesy or "thank you" light.
- Use if you've broken down or had to stop suddenly where you might be a hazard.
- Use briefly to warn of an immediate danger ahead (for example, a collision around a blind bend).
- Not for normal parking or driving.
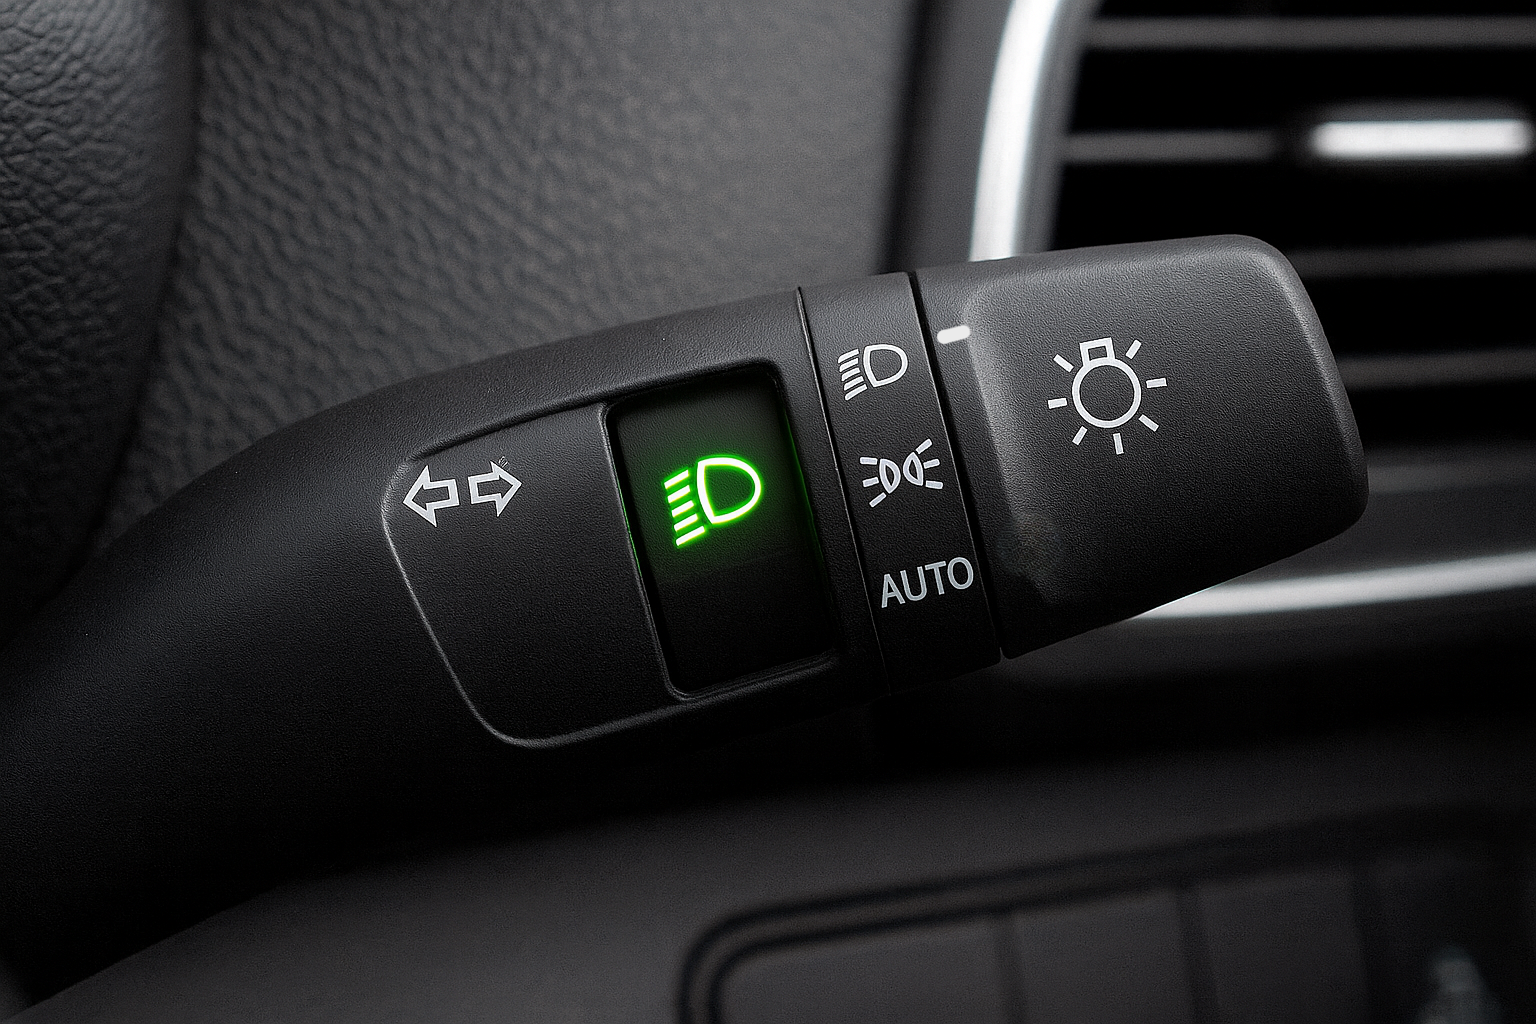
8) Dashboard & Switch Icons You Should Recognise
These are the common symbols tied to the light functions above. They appear on your instrument cluster or on the light switch itself.
| Icon | Meaning |
|---|---|
 |
Dipped beam is on. |
 |
Full beam is on — dip for oncoming/following traffic. |
 |
Front fog lamps active (use only in poor visibility). |
 |
Rear fog lamp active — switch off as soon as you can see behind clearly. |
 |
Bulb fault detected — check exterior lights. |
9) Allowed vs. Prohibited Light Combinations
Many theory questions boil down to combinations. Memorise these to pick up easy marks.
| Combination | Allowed? | Why |
|---|---|---|
| DRL + Dipped beam | No | They serve the same front purpose — don't stack. |
| DRL + Front fog lamps | No | Illegal pairing; switch to dipped if you need more light. |
| Dipped beam + Front fog lamps | No | Too bright together; use one or the other as conditions demand. |
| Dipped beam + Parking lights | Yes | Parking lights act as position lamps alongside dipped. |
| Rear fog lamp + Normal tail lights | Only in very poor visibility | Turn rear fog off when conditions improve. |
10) Pulling Over: Which Lights Should You Use?
Normal Pullover (Not Emergency)
Use dipped beam if it's dark/poor visibility; parking lights will usually remain on. No hazard lights unless you are a danger.
Emergency Pullover/Breakdown
Turn on hazard lights; keep parking or dipped beam on in the dark. Do not use fog lights or full beam. Place a warning triangle outside built-up areas.
11) Visibility in Darkness (Typical Exam Values)
How far you can see (and be seen) at night depends on clothing and reflectors. These approximate distances are commonly used in theory questions:
| Clothing & Conditions | With Dipped Beam | With Full Beam |
|---|---|---|
| Dark clothing, no reflector | ≈ 25 m | ≈ 150 m |
| Light clothing, no reflector | ≈ 60 m | ≈ 300 m |
| With reflector | ≈ 125 m | ≈ 450 m |
12) Police & Emergency Vehicle Lights
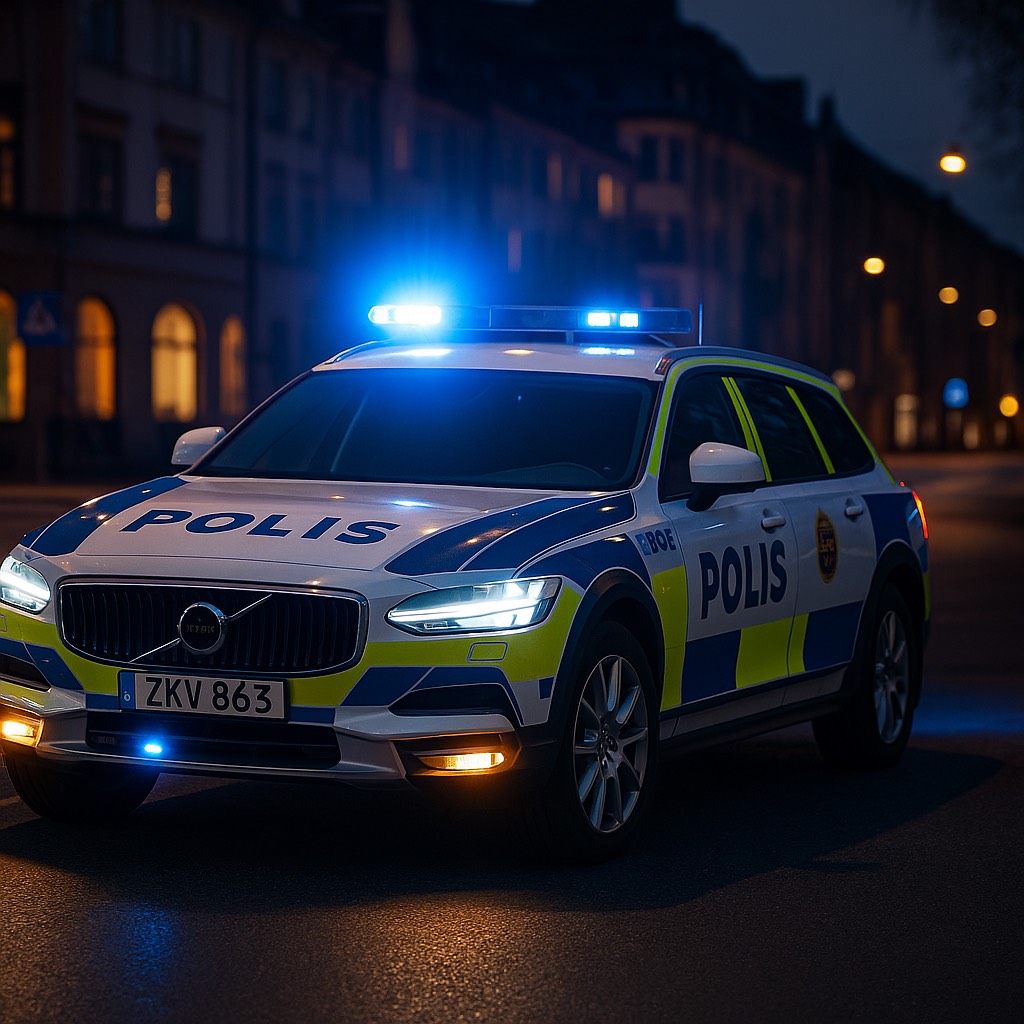
Emergency and police vehicles in Sweden use special light combinations and messages to warn, request passage, or instruct you to stop. Understanding these signals is crucial — both for safety and for the driving theory test.
- Blue flashing lights — emergency vehicle approaching. Move aside safely and allow it to pass.
- Blue and red flashing lights together — a direct signal to pull over and stop. Indicate right, stop safely, wait in the car unless told otherwise.
- "STOP POLIS" sign — illuminated text (often in the rear window/light bar). This is an official stop order. Pull over, engine off, wait for instructions.
- Amber/yellow flashing lights — road service/maintenance/tow vehicles. Proceed with caution; not a police stop signal.
- Rear red lights (escort) — "do not pass" signal. Stay behind until directed.
| Light Combination | Meaning | Your Action |
|---|---|---|
| Blue flashing lights | Emergency vehicle approaching | Move aside, let it pass |
| Blue + red lights | Police order to stop | Pull over and stop safely |
| STOP POLIS sign | Official stop command | Pull over, turn off engine, wait |
| Amber/yellow lights | Maintenance or caution | Slow down, proceed carefully |
| Rear red lights | Escort "do not pass" | Stay behind |
Summary
- Use DRL in clear daylight only — switch to dipped when visibility drops.
- Front fog is for fog/heavy rain — never combine with DRL or dipped; turn off when clear.
- Rear fog only when visibility is very poor — switch off as soon as possible.
- Full beam off for oncoming/following traffic and on well-lit streets.
- Parking lights when stopped/parked in the dark so your car can be seen.
- Hazard lights for emergencies or sudden dangers — not for routine stops.
Ready to practice what you've learned?
Test your knowledge with our interactive quizzes: